Why tolerance is a functional decision on optical parts
On a mechanical part, tolerance protects fit. On an optical extrusion, every tolerance also touches light. Width sets the visible window and the mixing volume. Wall thickness changes the optical path and the weight at the same time. Straightness decides whether the joint between two profiles reads as a hairline or as a shadow.
That is why “as per standard tolerance” is a weak sentence on a diffuser drawing. General tolerances exist to keep a profile shippable, not to keep a luminaire uniform. If the drawing does not say which dimensions are functional, the line will hold the easy ones and let the critical ones drift.
Five dimension groups that decide the outcome
Width and height: the light exit window
Width is the dimension the ceiling sees. It must land inside the housing flange with enough engagement to hold, without covering the gasket or colliding with adjacent parts. If you need the basics first, start with what a prismatic LED diffuser is. On prismatic covers, formed width commonly spans 23–195 mm; whatever your value is, the question for the supplier is which side of the band the profile will sit on across a production run. A width that drifts toward the low edge shows up as a light gap at the end cap.
Height works differently. It sets the distance between LED and output face, which is part of your mixing budget. A height band that is too loose turns one drawing into a family of slightly different optics.
Wall thickness: where optics meets weight
Wall thickness moves three things at once: transmission, weight and cost. Extruded optical profile weight runs from 10 g/m to 2000 g/m, and weight is the main driver of material cost as well as rigidity and snap-fit retention. A wall band that is too wide shows up as batch variation: same drawing, slightly different glow from one delivery to the next.
If your acceptance is written against optical data only, you will not catch this. Put the wall or weight target next to it.
Straightness and twist: the seam problem
Linear luminaires run in meters. A small bow or twist per meter accumulates over a ten-meter run and turns into seam shadows at the joint, or into a cover that rocks in its channel.
Straightness is also the tolerance most often left to “standard”. Move it onto the drawing with a measuring length attached, because straightness over 3 m and straightness over 300 mm are two different promises.
Snap-fit and assembly dimensions
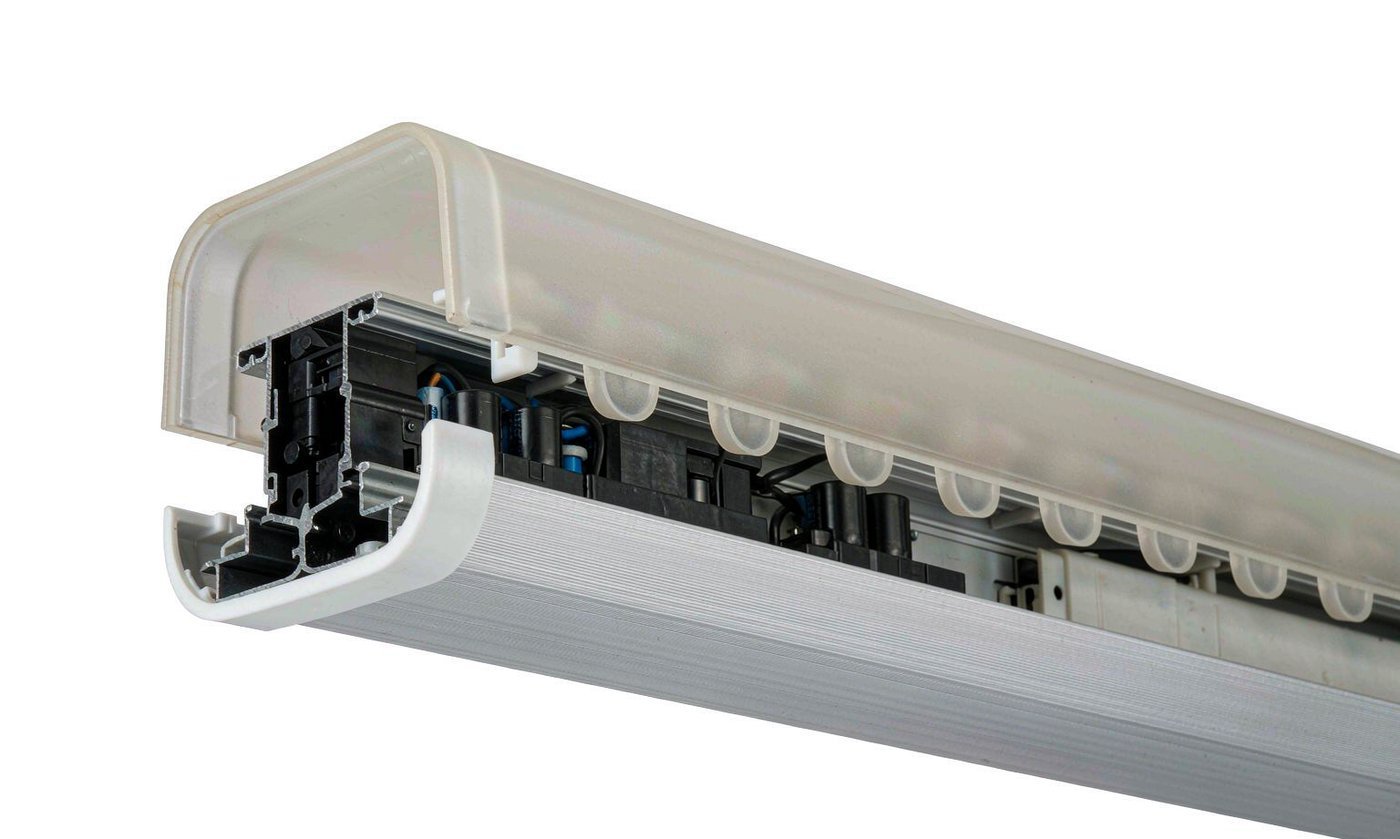
Hooks, grooves and clip features are where optical extrusions stop being optical parts and start being mechanical ones. A snap sitting at the loose edge of its band is invisible on paper and obvious on the line: covers that rattle, or that get re-seated at final QC by hand.
A tighter general tolerance will not fix this. Name the dimensions that mate with your housing print instead, and ask the supplier to confirm those features against it before tooling. This is standard practice for custom LED diffusers and costs one email at drawing stage.
Length and cut tolerance
Cut length interacts with end caps, gaskets and thermal movement. State the mating condition, not just a number: cut to fit an end cap with a gasket is a different instruction than cut to a bare dimension.
How to write tolerances into the drawing
- Mark functional faces: which face is the light output, which is mating, which is decorative.
- Band the critical dimensions explicitly: width, height, wall or weight, straightness over a stated length, snap-fit features referenced to your housing print.
- Leave the rest to the supplier’s general tolerance, but state that you will measure incoming batches.
- There is no universal tolerance table for optical extrusions that protects your luminaire. The band that matters is the one you and the supplier agree on per drawing, per feature.
Send it in a format the supplier can actually use; our guide walks through how to send a drawing for a custom LED diffuser.
Verify on samples, not on promises
Measure first articles across the full length, on a flat reference, not by eye. Assemble onto your real housing, not a mock. Then ask what the batch inspection covers and how non-conforming batches are handled; ISO 9001 is the entry ticket, not the guarantee.
Pre-RFQ tolerance checklist
- Cross-section with functional faces marked
- Width and height band, and which of the two is critical
- Wall thickness or target weight range
- Straightness and twist over a stated measuring length
- Snap-fit dimensions referenced to your housing print
- Length, cut method and end-cap mating condition
- How samples and production batches will be measured, and by whom
Tolerance is cheap on paper and expensive in the field. Attach the checklist above to your RFQ, and the quotes come back describing your luminaire instead of the supplier’s catalogue.